
In this guide, we’ll discuss the crucial steps to prepare your walls for Shower Panels.
Before we jump into the nitty-gritty of how to prepare your walls for Shower Panels, let’s discuss why shower panels are the real game-changers. Not only do they add a touch of elegance to your bathroom, but they’re also a practical choice. Easy to clean, durable, and available in a variety of designs – what’s not to love?
The first order of business is to take a good look at your walls. Check for any existing damage, dampness, or uneven surfaces. Shower panels are only as good as the foundation they’re mounted on, so addressing these issues beforehand is key.
Got a few cracks or dents? No worries! Fill them in with a suitable filler and sand the surface until it’s smooth to the touch. A level and even wall ensure your shower panels will sit perfectly, creating a polished finish.
Time to roll up those sleeves and give your walls a thorough cleaning. A mix of mild detergent and water usually does the trick. Make sure to remove any soap scum, mould, or grime. Clean, dry walls not only enhance adhesion but also prevent any unwanted surprises down the line.
Before you start installing, measure your wall and panels meticulously. This avoids any last-minute adjustments and ensures a snug fit. It’s the golden rule of any successful DIY project.
Apply a suitable primer to your walls before you start putting up the panels. This not only enhances adhesion but also acts as a protective layer. Let it dry completely – patience is key here.
With your walls prepped and ready, it’s installation time! Follow the manufacturer’s instructions for installing your shower panels. Whether it’s adhesive or a tongue-and-groove system, take your time and double-check your work. Attention to detail pays off!
Sealing the edges is the final touch. A good-quality sealant ensures water won’t sneak behind the panels, keeping your walls protected and your bathroom looking fabulous.
And there you have it – a bathroom transformation waiting to happen! By prepping your walls diligently, you’re setting the stage for shower panels that not only look amazing but also stand the test of time.
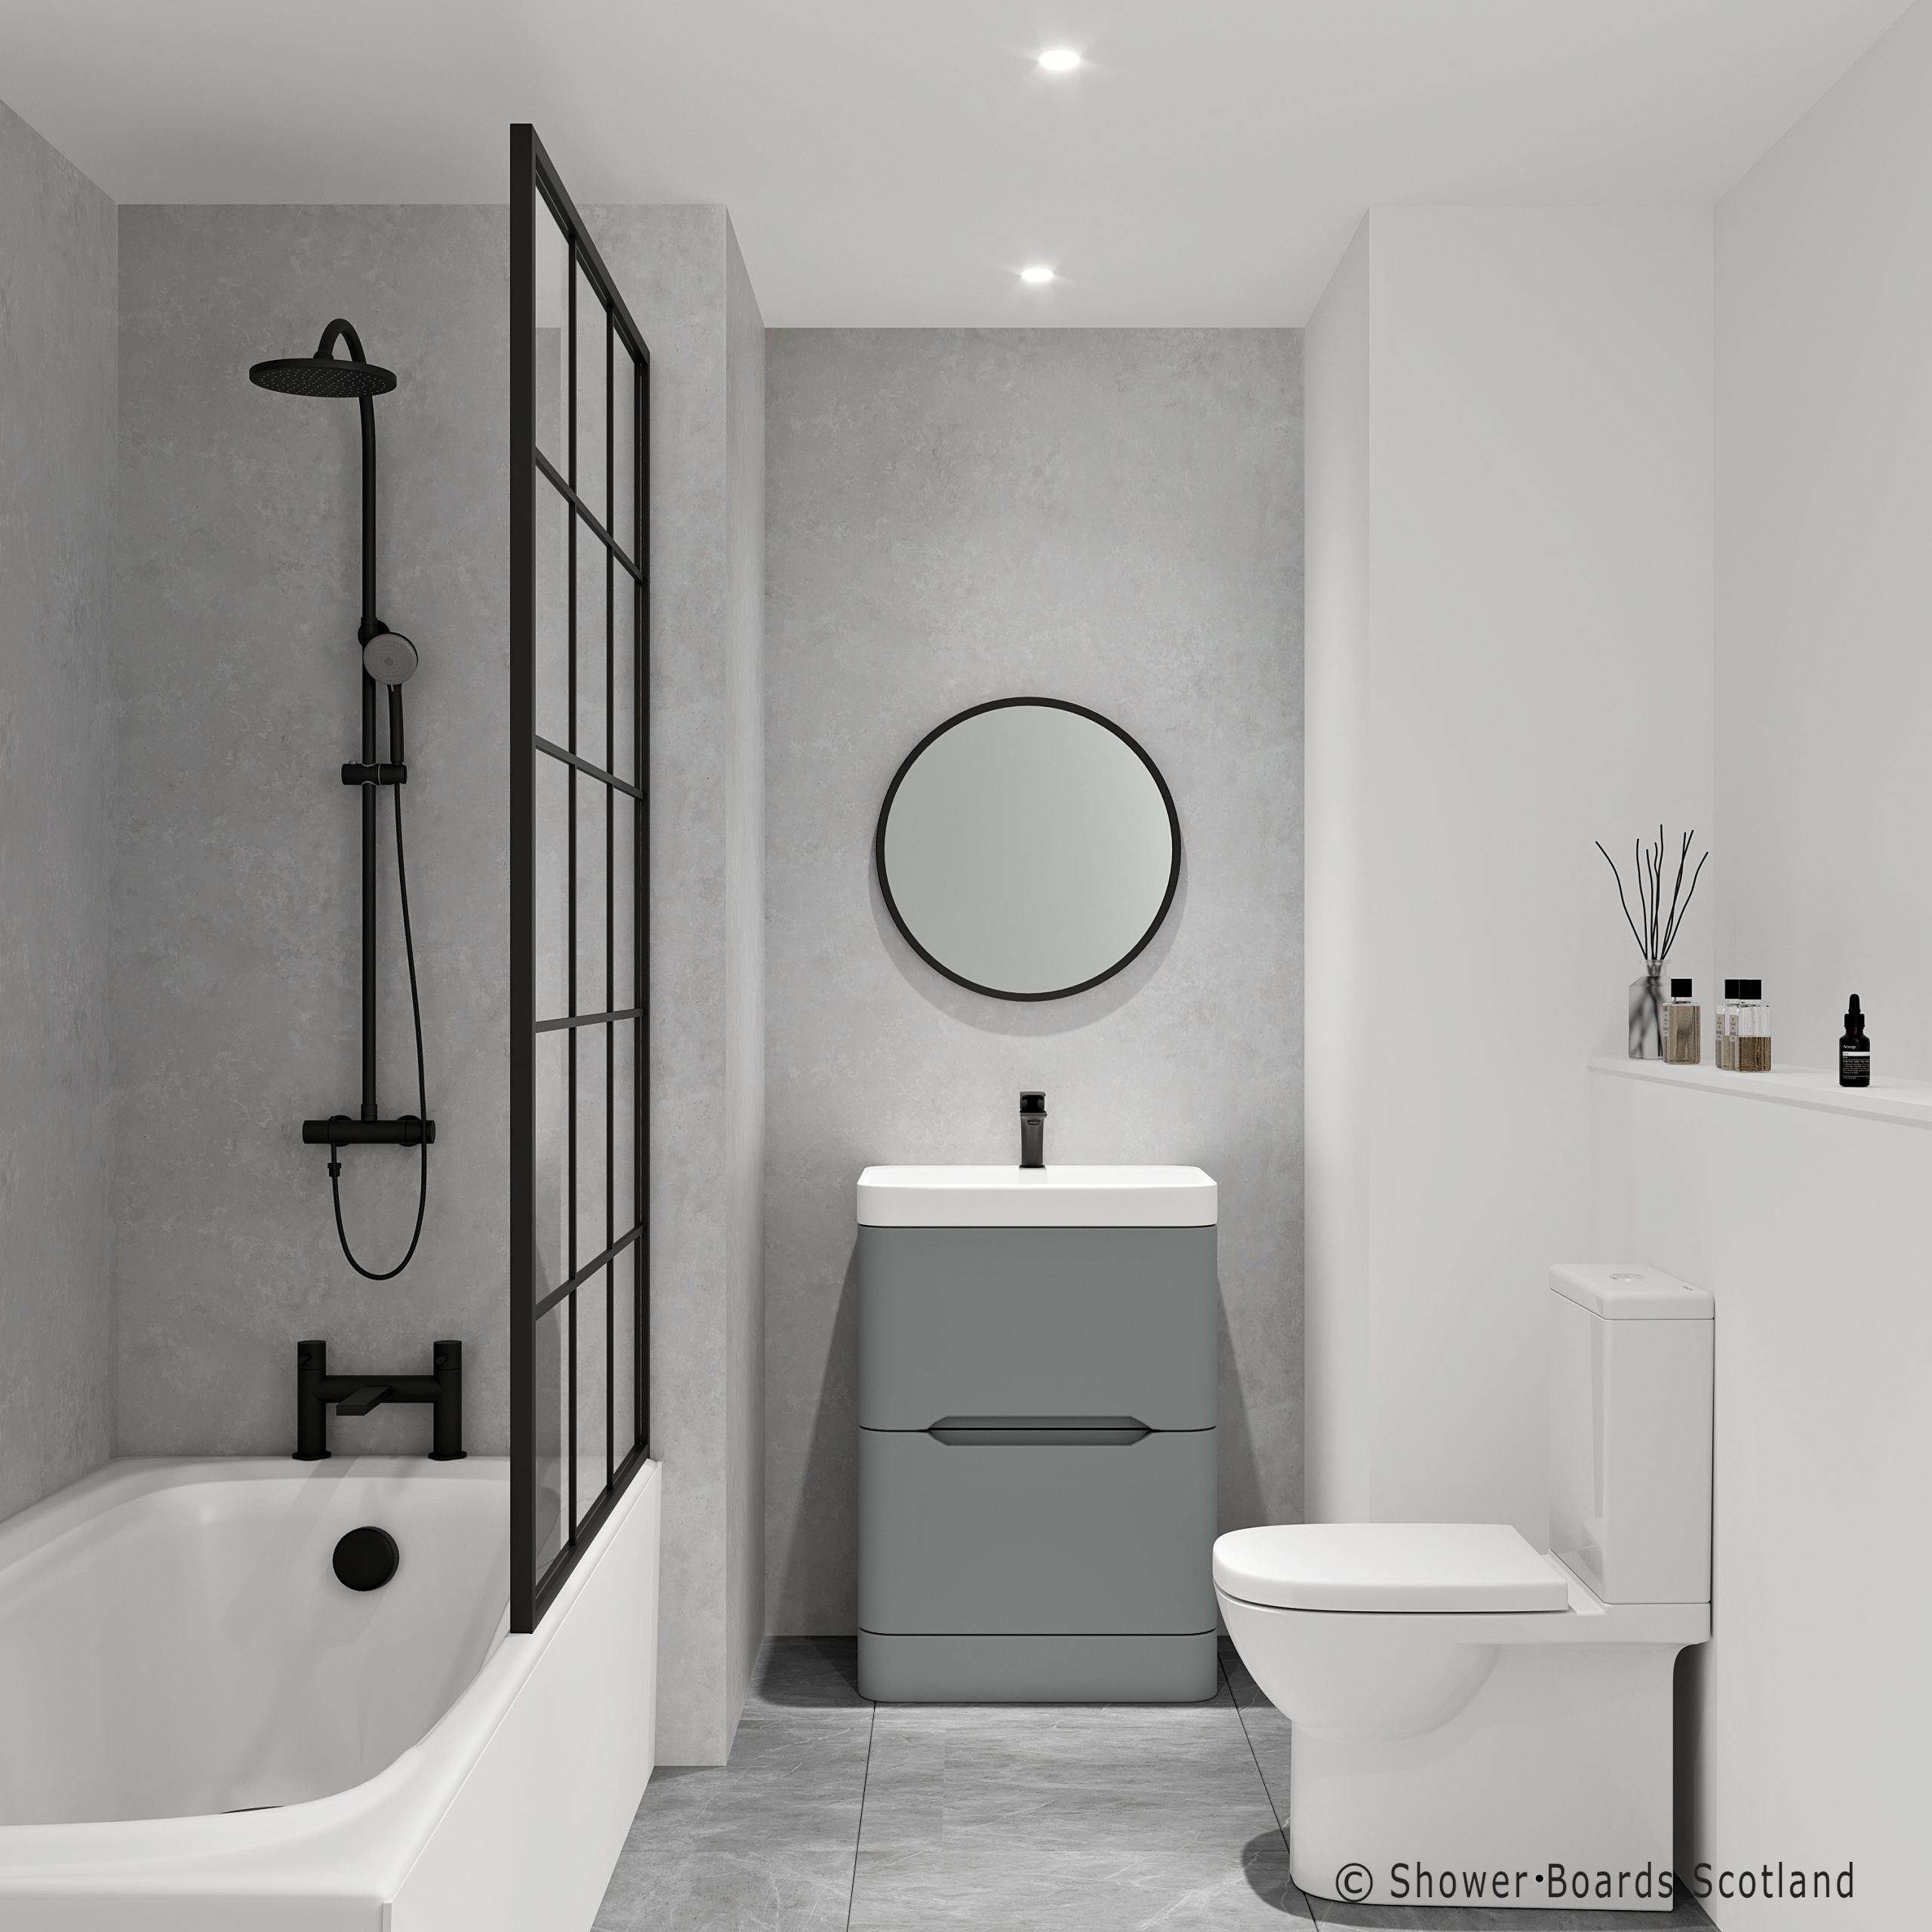
Check out our amazing range of shower boards to give your bathroom the makeover it deserves. For more information don’t hesitate to get in touch.
GET IN TOUCH :
WISHAW
01698 679957
BATHGATE
01506 365124
WISHAW
4 Netherton Road,
Wishaw, ML2 0EQ
BATHGATE
Unit 3, Block 12
Whiteside Industrial Estate, Bathgate, EH48 2RX
© COPYRIGHT SHOWER BOARDS SCOTLAND
DEVELOPED BY MADE IN SCOTLAND